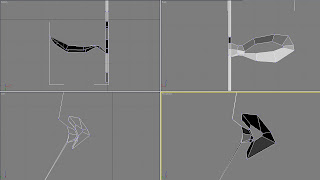
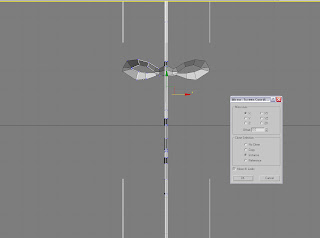
1. Firstly I will go on start with the most part of the face, eyes. Select the whole edges around the eye. And push the shift to clone a new bigger edge.
There will be two points on the corner of eye, so it needs to be welded like before.
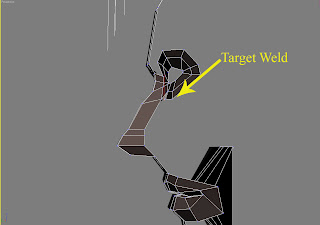 After that, go to vertex level to modify these new points, especially the corner of the eyes.
Move forward the points on the first of eyes edge to make the shape of the eyelid.
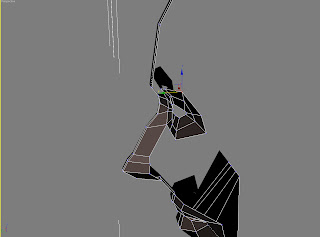
Next, it is time to close the first eye circle, on the vertex level to cut 3 lines to close the circle, and be careful the shape should be same to the eyes.
Normally there are several lines loop around mouth and eyes, in order to making that I cut another two lines. 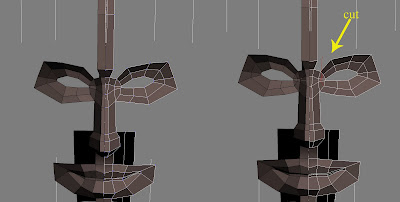
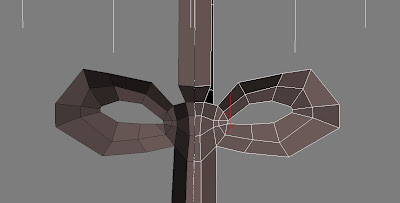
Right click and Remove the useless line, and modify the two new points.
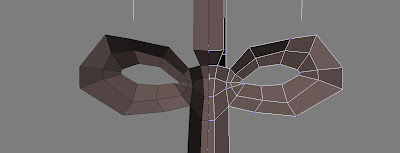
2. Secondly, go to the mouth part to create the parts around the mouth, create the second mouth second like creating the eyes.
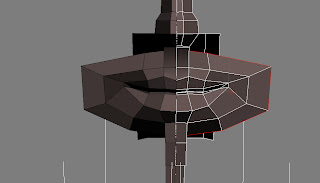
Weld the both points on the corner. Adjust all the points on the vertex level.
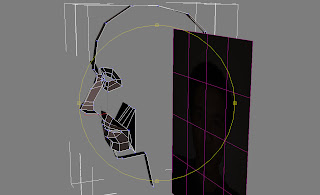
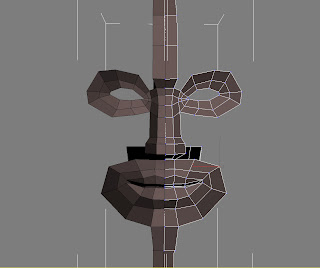
Clone a new edge based the edge on the second mouth circle. Target weld two new points to the points on the corner of nose for creating a new area between mouth and nose. This part will be the basic of the ditch between nose and mouth.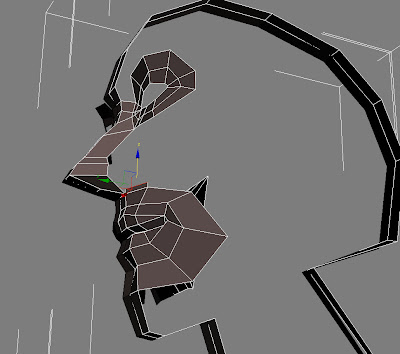
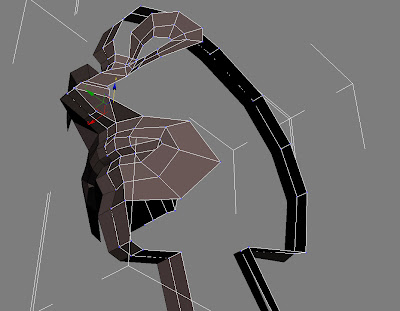
Cut a new edge to close the first mouth circle.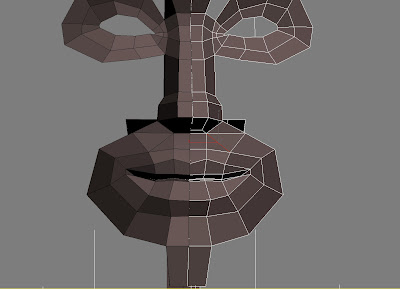
Right click and Remove the useless line and adjust the points around area.
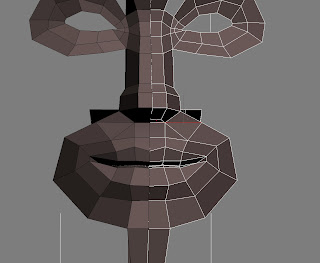
3. New I am going to create the part between eye and mouth, go back to the eye part,
Cut three edges on the outside corner of eye.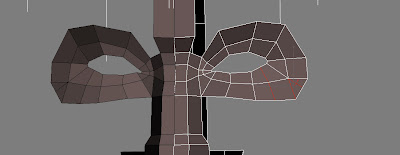 Remove the third just keep the points. Adjust the positions of those new points.
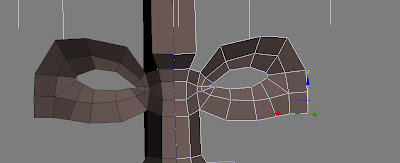
Cut a new edge on the nose and target weld the two points between eye and nose.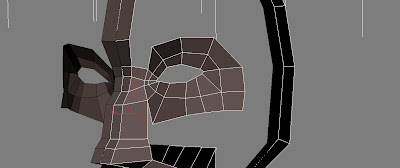
By now I need to take time to adjust all the points around the eyes on different views.
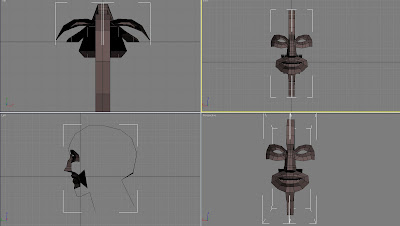
4. Clone the underneath edge of the second eye circle and upper edge of the third mouth circle to create the parts of the upper mouth and down the eye.
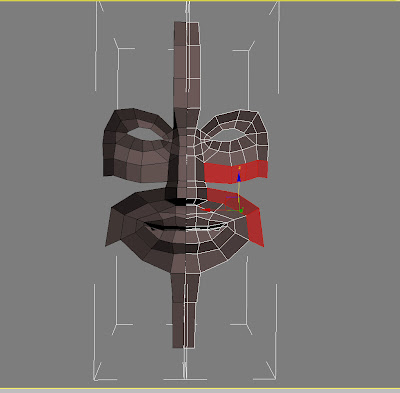
Close the area between them, cut a new line if there is not enough line to connect,and keep adjust all the vertexes during this time.
Move the outside points to backward, here is the cheek. Some thin people is deeper
Here, fat people may be raised.
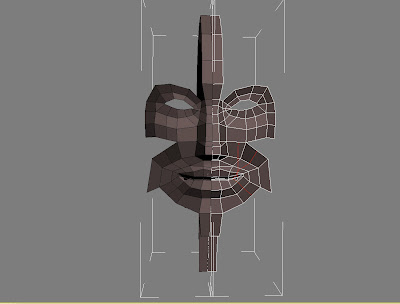
Nest step is a special connective part, drag the edge by pushing the shift button, and go to vertex level to target weld upper point to underneath eye part.
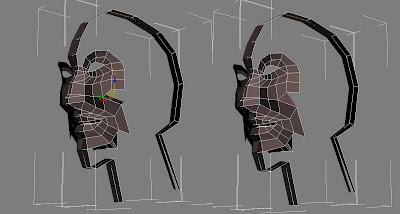
Build next part by the same way.
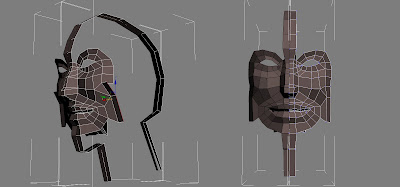
5. Close the chin part, firstly drag and close the part around the corner of the mouth like last step.
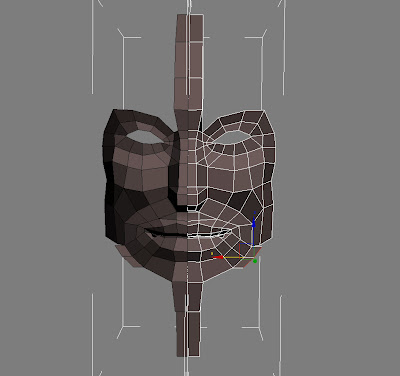
And then repeat it from the bottom of chin as well.
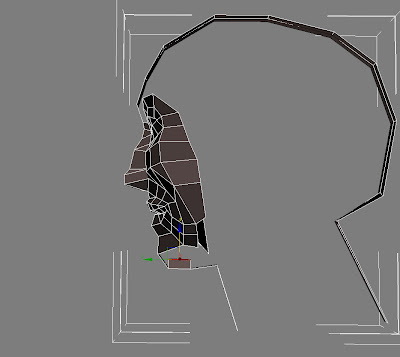
Go to Border level and close the last cap with Cap.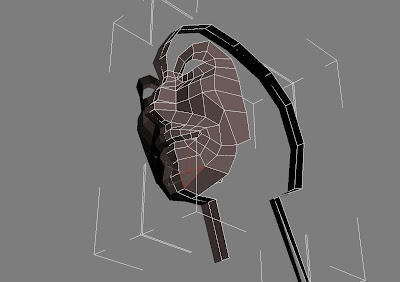
Drag and clone the last edge, target weld with the old points on this circle.
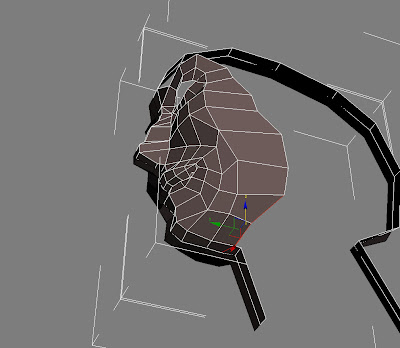
Take time to adjust all the points on the chin.
At last drag and clone an edge to close a cap between eye and forehead.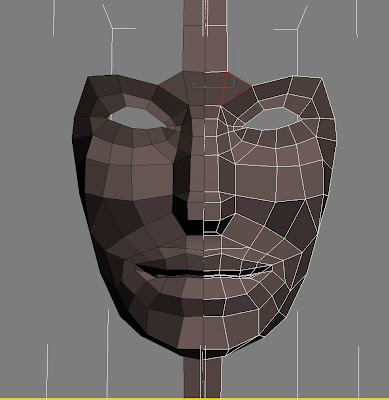
By now the outline of face is completed.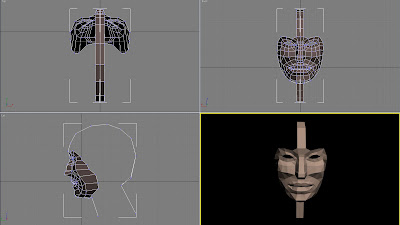
Right click and Remove the useless line, and modify the two new points.
2. Secondly, go to the mouth part to create the parts around the mouth, create the second mouth second like creating the eyes.
Weld the both points on the corner. Adjust all the points on the vertex level.
Clone a new edge based the edge on the second mouth circle. Target weld two new points to the points on the corner of nose for creating a new area between mouth and nose. This part will be the basic of the ditch between nose and mouth.
Cut a new edge to close the first mouth circle.
Right click and Remove the useless line and adjust the points around area.
3. New I am going to create the part between eye and mouth, go back to the eye part,
Cut three edges on the outside corner of eye.
Remove the third just keep the points. Adjust the positions of those new points.Cut a new edge on the nose and target weld the two points between eye and nose.
By now I need to take time to adjust all the points around the eyes on different views.
4. Clone the underneath edge of the second eye circle and upper edge of the third mouth circle to create the parts of the upper mouth and down the eye.
Close the area between them, cut a new line if there is not enough line to connect,and keep adjust all the vertexes during this time.
Move the outside points to backward, here is the cheek. Some thin people is deeper
Here, fat people may be raised.
Nest step is a special connective part, drag the edge by pushing the shift button, and go to vertex level to target weld upper point to underneath eye part.
Build next part by the same way.
5. Close the chin part, firstly drag and close the part around the corner of the mouth like last step.
And then repeat it from the bottom of chin as well.
Go to Border level and close the last cap with Cap.
Drag and clone the last edge, target weld with the old points on this circle.
Take time to adjust all the points on the chin.
At last drag and clone an edge to close a cap between eye and forehead.
By now the outline of face is completed.

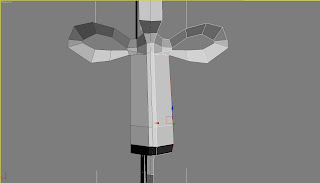
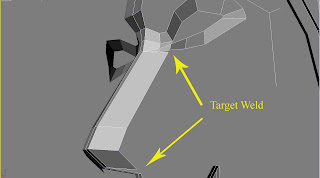
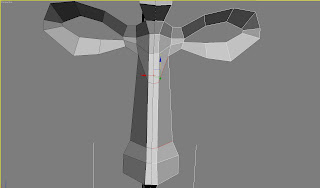
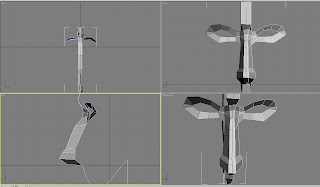
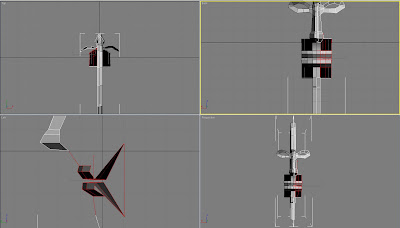
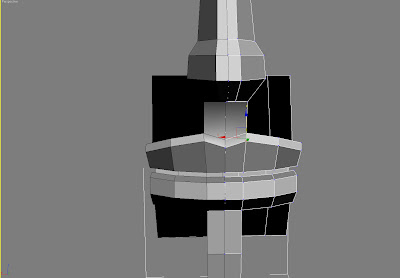
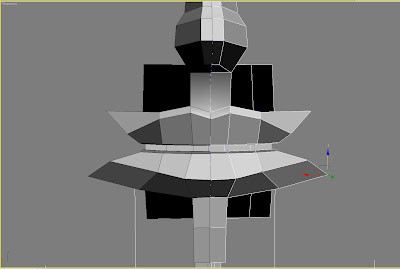
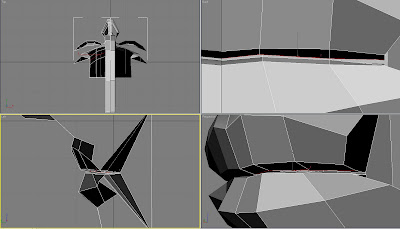
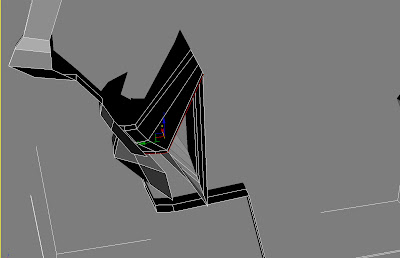 Target weld these two points to other point which on the other corner. Here I am closing the cavity right now.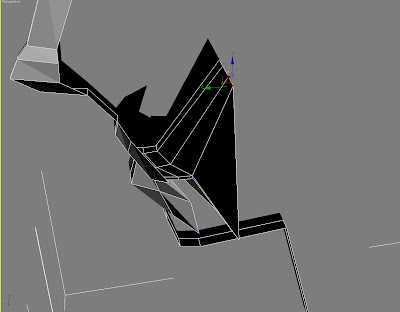
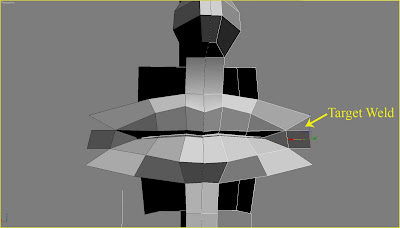
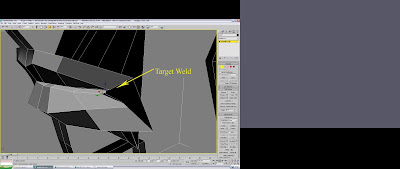
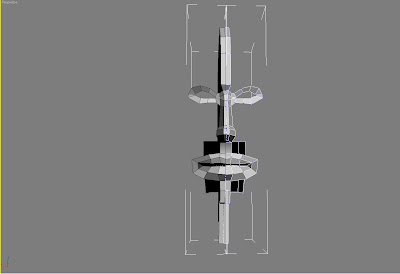
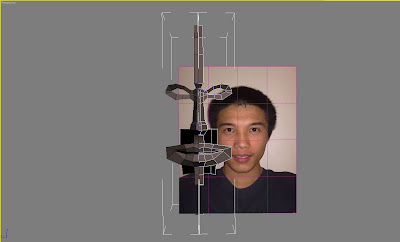
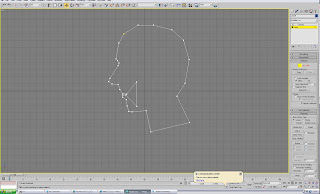
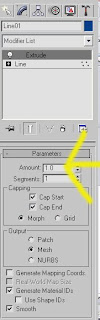 I will do most of steps in the perspective view,so it has better make the window clear and easy to see.right click the Perspective and check the Edged Face,and uncheck the Show Grid
 Covert it to Eidtable poly,by now there a basic shape on which all the other parts will be built .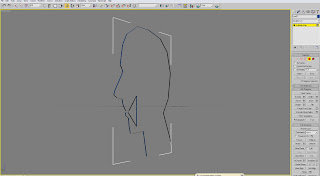
 Here I got some new polygons, which are the parts between eyes and nose. This part will control the depth of eyes, which is different for different areas people, for example, English is much deeper than Chinese. depend on waht kinds of people you want to build.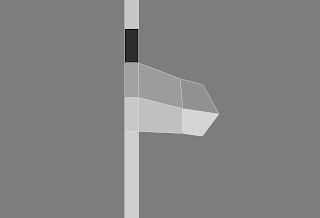
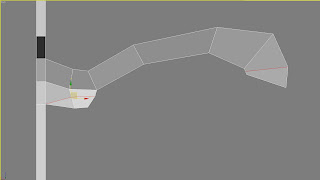 Adjust all the points to make the ball shape on the vertex level, because there will be eye ball inside, it should be the upper edge is a little bit ahead than the other one.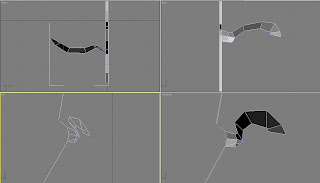
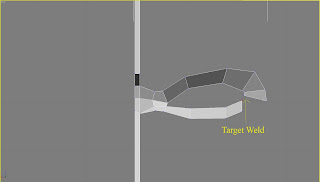 By now, I got a whole eye circle. go to vertex level and adjust the whole points on the Perspective view very carefully, and imagine there is a ball behind these eyelids when adjusting them.