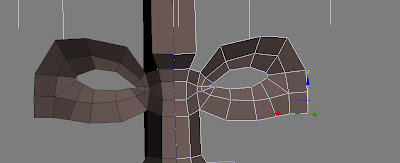
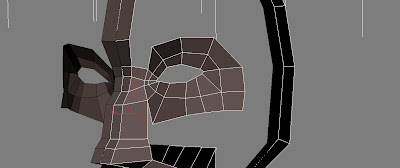
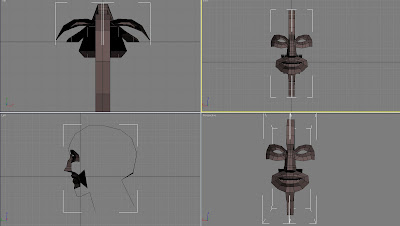
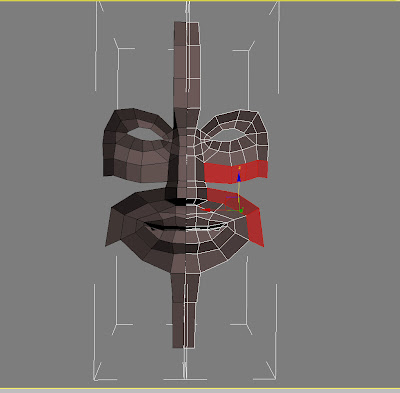
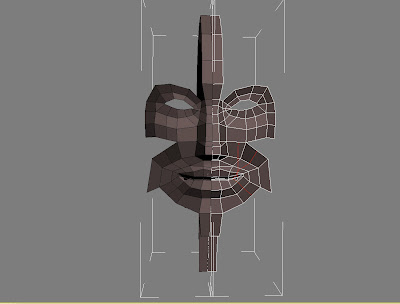
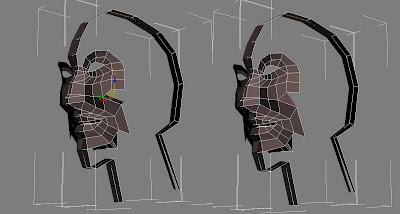
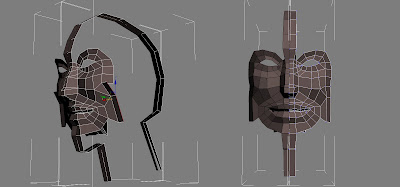
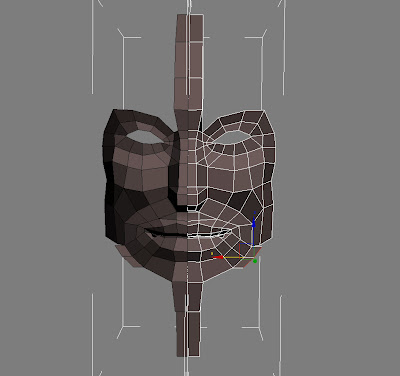
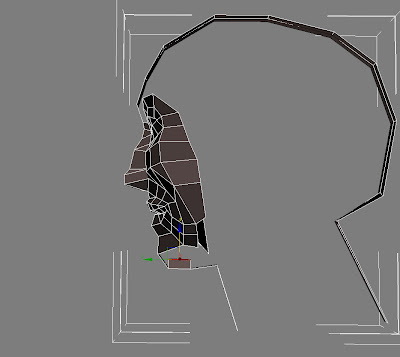
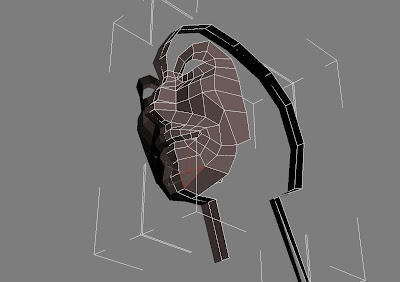
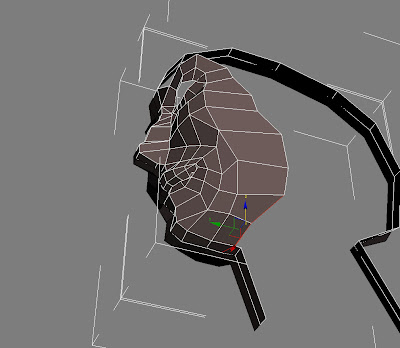
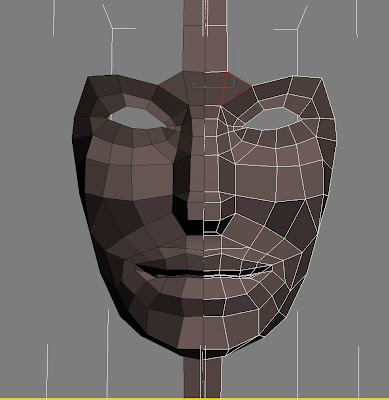
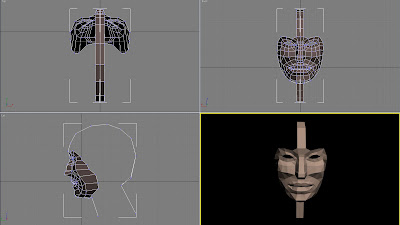
Left side of head
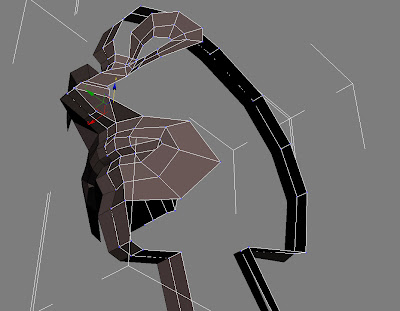
Beginning from one side of the face, and drag and clone the whole edge to the backward, move them to the right, and target weld with the eyebrow part, and adjust the new points on the vertex level.
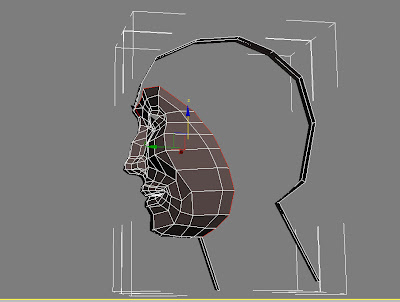 pull the points on the forehead to the lift, there will be a corner where I will create a corner of eyebrow.
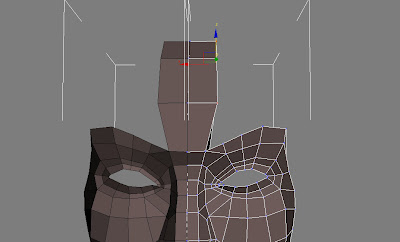
Drag the first three edges on the eyebrow to the top, and target weld the first two new points to the point forehead.
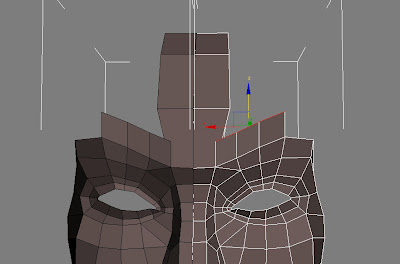
Drag the two edges to the lift and target weld it to the part I just made.
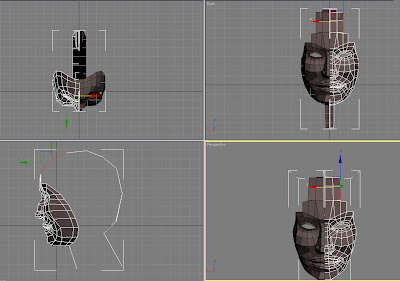
Repeat the last process again.
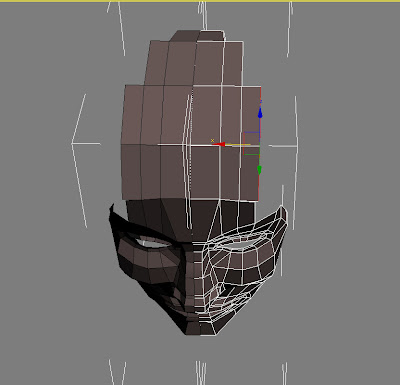
And move the outside the whole edge down.
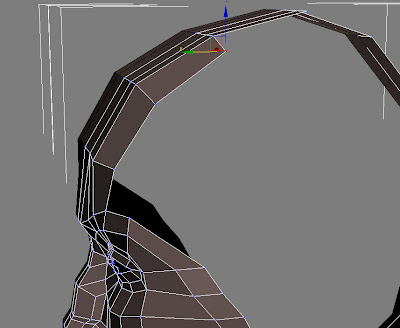
Targets weld the two points together on the top of head.
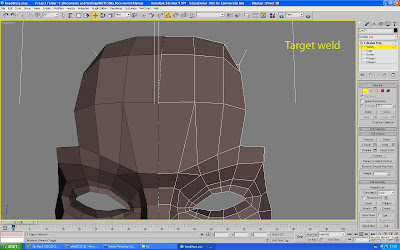
Drag the rest two edges of the eyebrow to the top, target weld the first point to the first forehead line, and the second points to the second line.
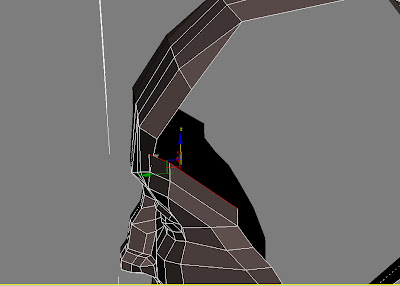
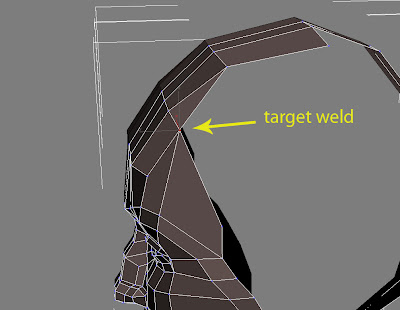
Select the rest edges of head, and then drag and clone them.
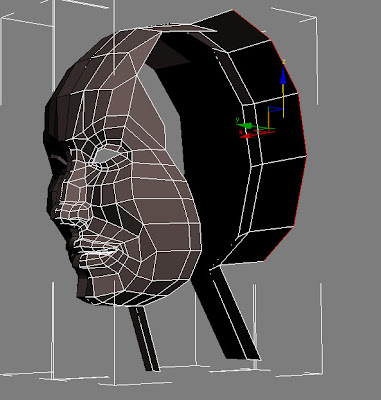
Targets weld them with the forehead part I just made.
Targets weld some of the points, so reduce the polygons which do not effect to the shape of the head.
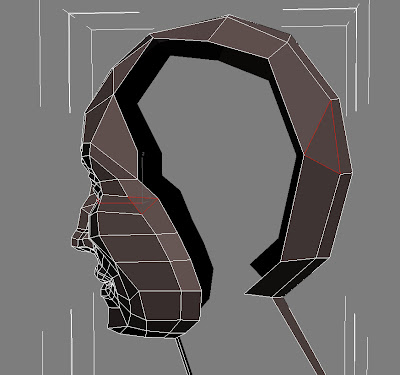
Now clone the edges on the top of left side of the head and drag and them down.
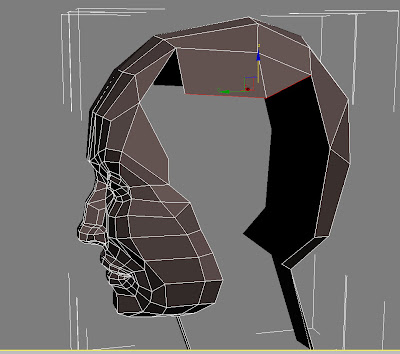
Go to the polygon and select the piece of triangle polygon before the new polygon I just made. It is will be easier way to delete it and create a new square polygon here than weld them.
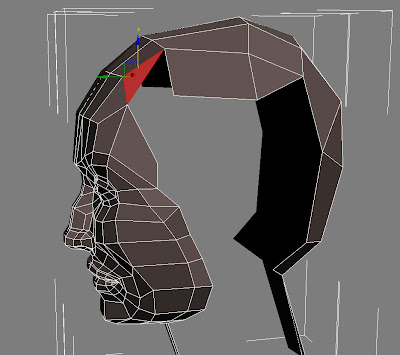
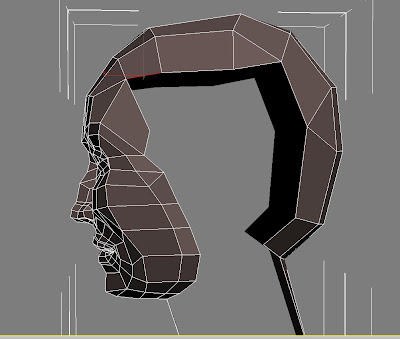
Drag and clone the edges that around the ear area to the back, and target weld it with the upper point.
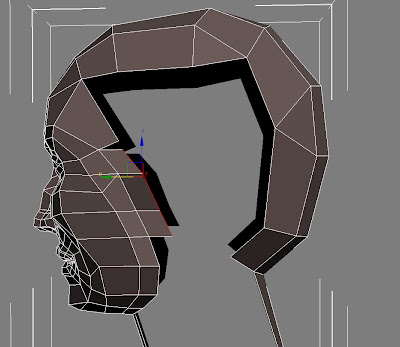
Drag again the new edges and Target Weld them to the back of the head part.
Here I got the outline of ear area, and adjust the point on this area, because I will create an ear on this area, it’d better make them on correct positions.
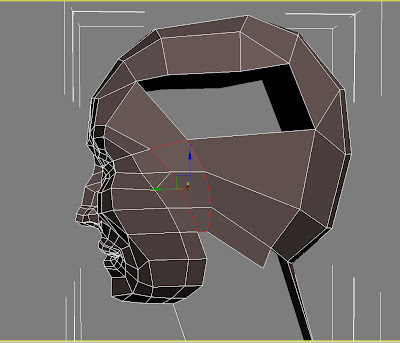
Adjust the point which did not connect with the back of the head to the front.
.
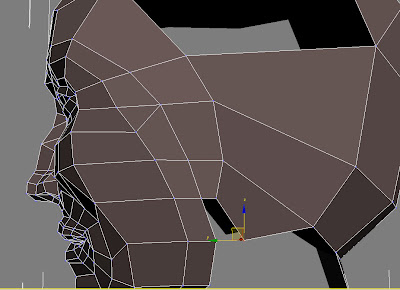
Cut a new line from this point to the top.
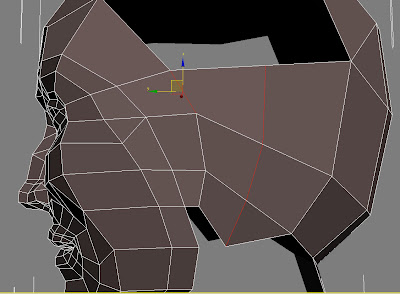
Clone all the edges on the top of this part and drag them to the top, target weld them with the top of the head part.
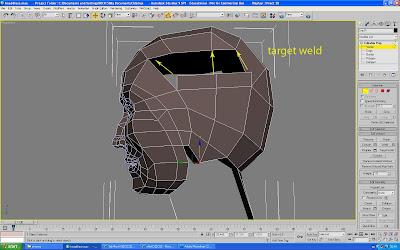
There will be a point can not be connected, just cut a new line to weld this point.
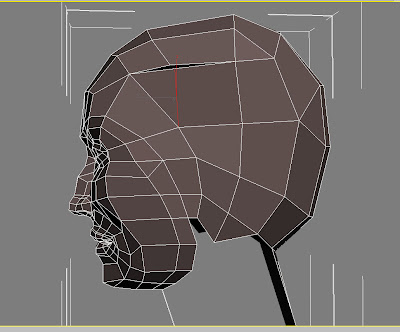
Adjust the edges on the left side of head, and make sure they go alone a circle.
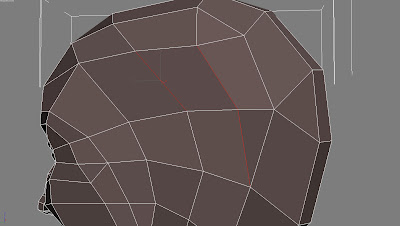
Neck
Before the whole left side of then head I have to create the neck part first to fix the position of the part between head and head.
So quickslice two edges on the front and back neck part around the Adam's apple part,
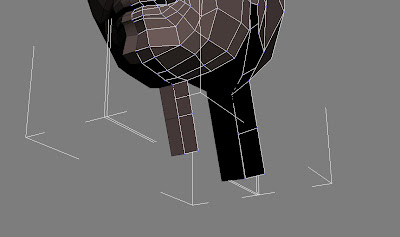
And then clone and target weld these two parts of neck,
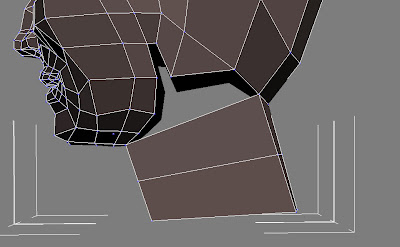
With the connect tool to divide the new part into 6 parts, and there will be three points connecting to the head. Go to vertex level and pull all the point to the left on the front view to create the basic shape of the neck.
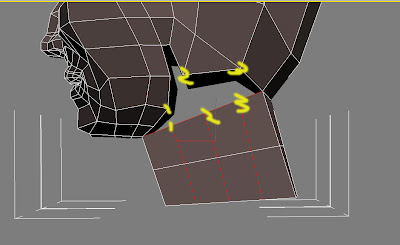
Last part of closing
Now go back to the head part and drag the rest part below the ear area. Target Weld them to the back side like the picture below.
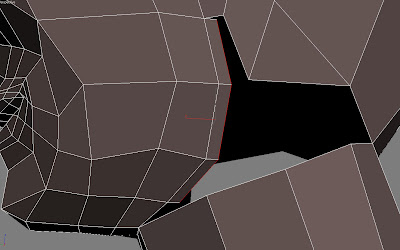
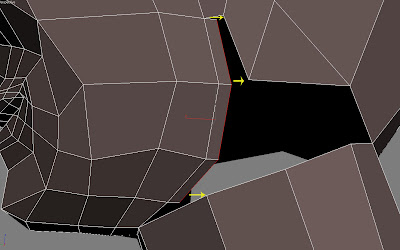
Drag and clone all the edges to the top side, but here is not enough points to connect like the top head as well. So cut a line again.
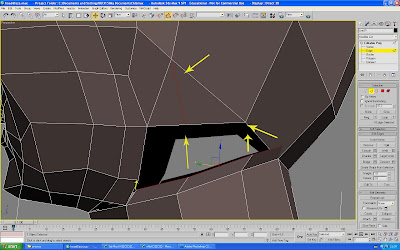
Do the same thing on the neck. By now there is just one triangle hole left. So close it with cap on the border level.
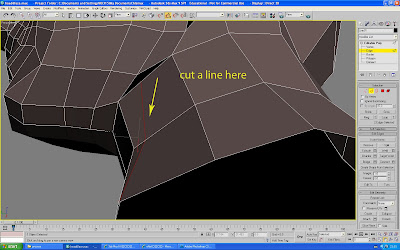
At last, cut some edges to make the natural connection.
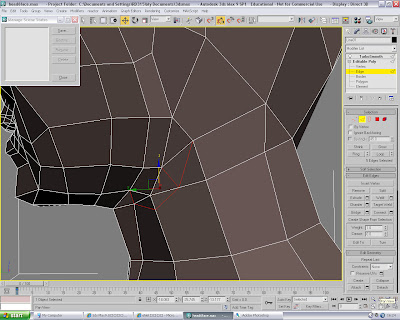
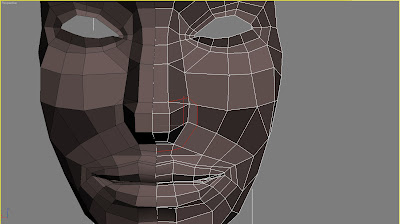
By now the basic shape of head was completed, go to the modify list and find the TurboMooth, and then try to find out the point that I miss to weld.
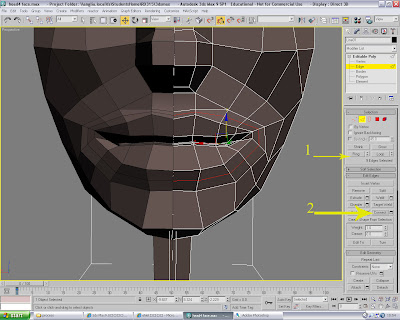
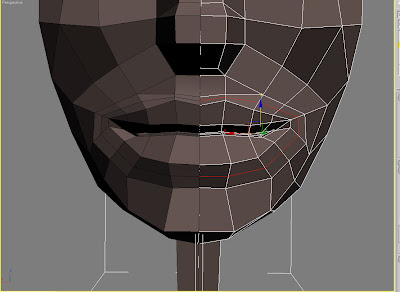
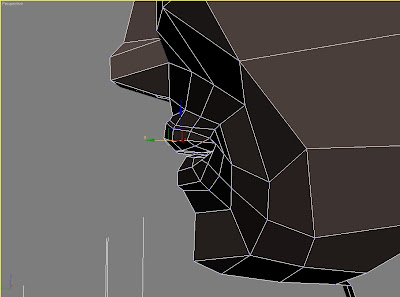
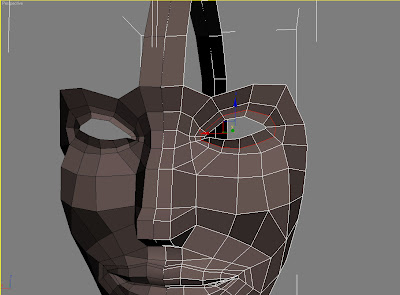
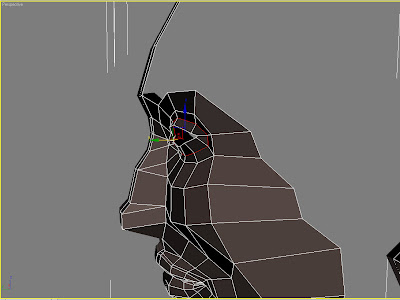
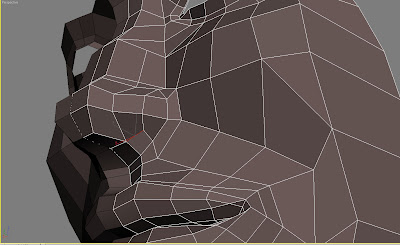
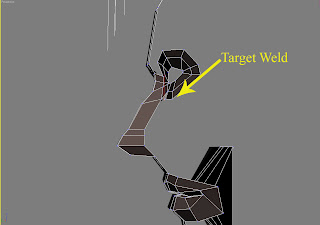
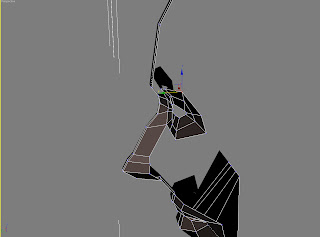
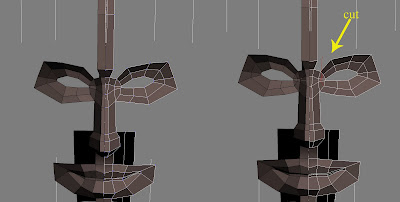
 and cut another line in the middle of one side of the nose, there will be two cross points with the lines of nose tip, drag them to the right to build the shape of the wing of nose.
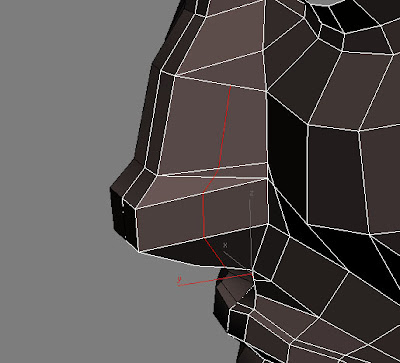
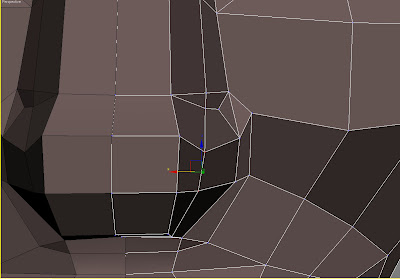
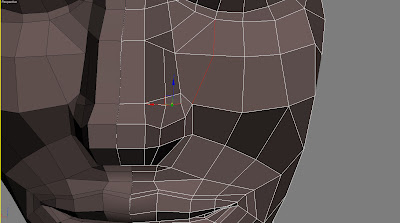
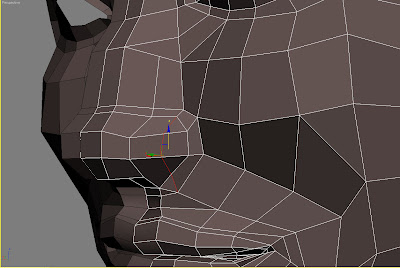
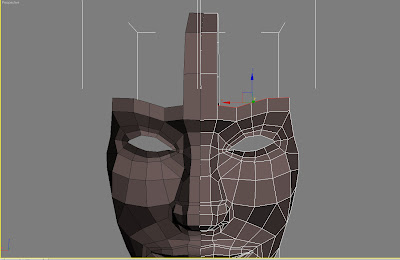
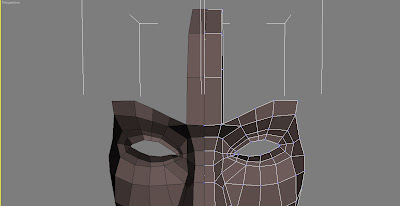
 After that, go to vertex level to modify these new points, especially the corner of the eyes.
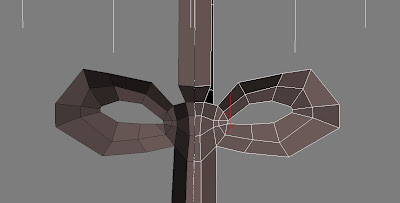
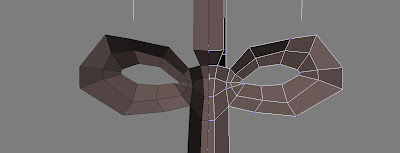
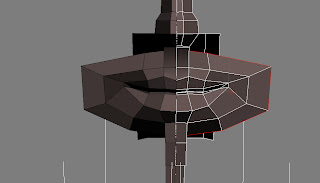
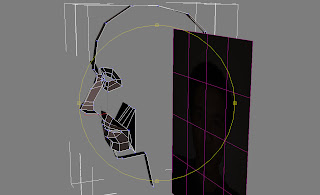
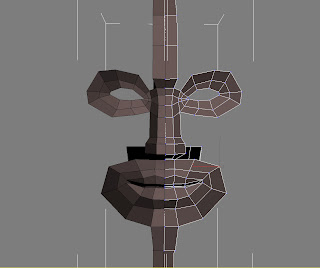
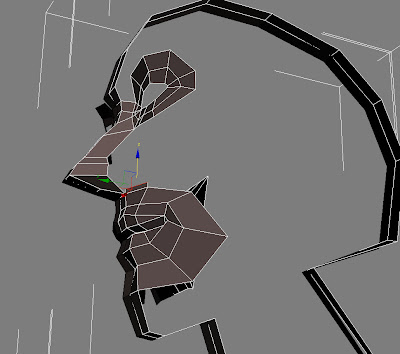
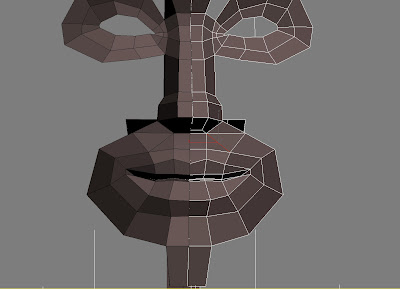
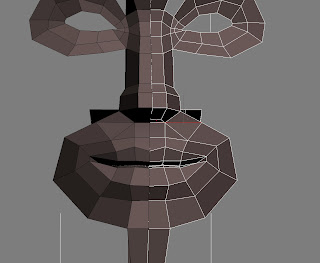
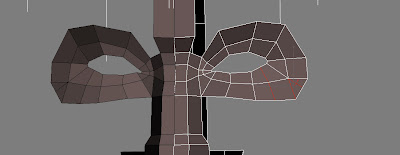 Remove the third just keep the points. Adjust the positions of those new points.