THE OUTLINE OF HEAD
At first, open the 3D max and set the units as millimeter. Go to shapes path and choose line object to draw a basic outline in the left view, and it will be much easier if following a real left side image of head. But I won’t do that this time, because I going to use it as the basic of some new characters later. Here I am creating a oral cavity for building a character with a big smile in the furture, at last, modify all the point to appropriate position after closing spline.
At first, open the 3D max and set the units as millimeter. Go to shapes path and choose line object to draw a basic outline in the left view, and it will be much easier if following a real left side image of head. But I won’t do that this time, because I going to use it as the basic of some new characters later. Here I am creating a oral cavity for building a character with a big smile in the furture, at last, modify all the point to appropriate position after closing spline.
In this process the points on eyes and mouth part have to be very careful, otherwise there will be a big trouble in future.for exampe,there should be 3 point on the eyes parts, because there are two eyelids.
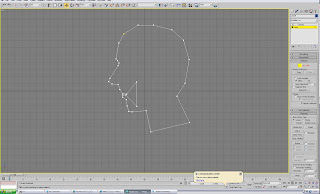
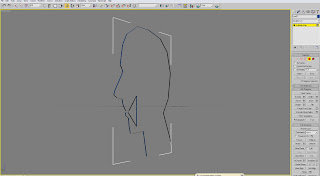
Extrude this outline, and give an approximate width value, I set amount 1mm.
 I will do most of steps in the perspective view,so it has better make the window clear and easy to see.right click the Perspective and check the Edged Face,and uncheck the Show Grid
 Covert it to Eidtable poly,by now there a basic shape on which all the other parts will be built .
THE EYES
The main methods that I am going to use to create the whole facial features are shift +move and Target Weld. So I will create the eyes with those methods first.
Firstly, select the eyes part from the outline of head. Pick the two edges and move them to the right by pushing the shift button by twice. Here I got some new polygons, which are the parts between eyes and nose. This part will control the depth of eyes, which is different for different areas people, for example, English is much deeper than Chinese. depend on waht kinds of people you want to build.
Go to vertex level and move them backward to get the depth of eyes.And then modify their positions.
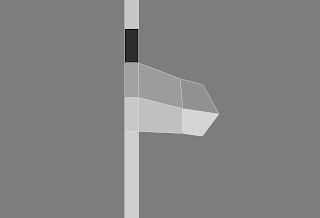
Select the upper edge to move by pushing the shift button to create the upper eyelid, and repeat four times, and then adjust the all the new vertexes’ position on the vertex level. For making the eyes more realistic the corner of eye will be built by bilateral structure, so I will cut two lines on those two parts.
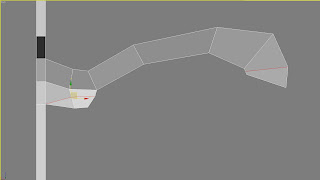 Adjust all the points to make the ball shape on the vertex level, because there will be eye ball inside, it should be the upper edge is a little bit ahead than the other one.
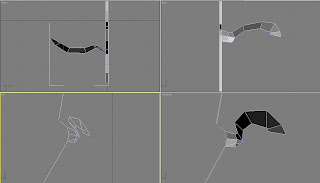
Create the underside eyelid by the same way. clone the edge three times, at last, target weld the last two points with the upper eyelid.
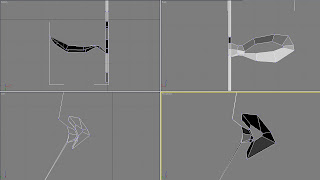
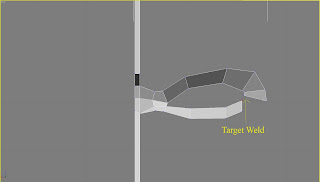 By now, I got a whole eye circle. go to vertex level and adjust the whole points on the Perspective view very carefully, and imagine there is a ball behind these eyelids when adjusting them.
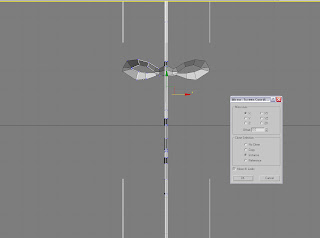
because this is just leftside of the head, so I will clone the whole object along the x axis as the right side head, but a important thing is this has to be instance clone, so I just need to create on one side during the next time.

No comments:
Post a Comment